-375x.webp?w=375&h=151)

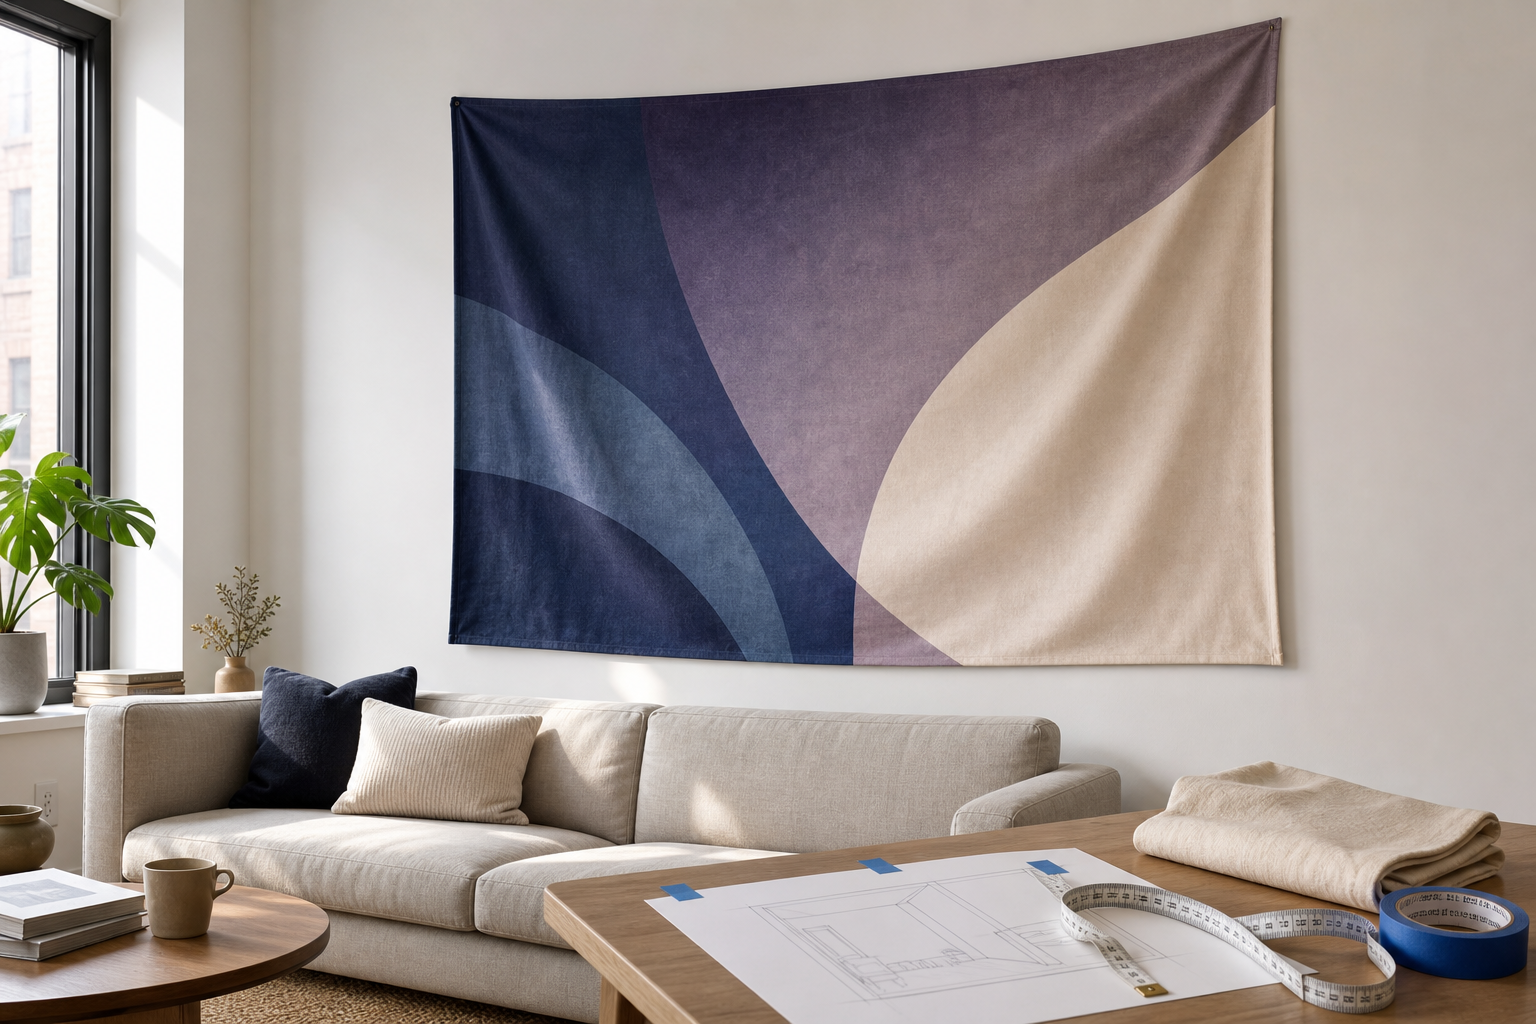
The short answer: choose a wall tapestry by measuring the usable wall area, checking the exact product dimensions, and previewing the outline with painter's tape or paper before ordering. For a rental, use only a mounting system rated for the wall surface and the tapestry's measured weight, follow its maker's instructions, and confirm the lease permits it. To reduce wrinkles, begin with the current product care label: let the textile hang and relax first, then use heat or moisture only when the label expressly allows it.
A tapestry can change a room quickly, but scale, safe support and careful handling matter more than a decorating rule copied from social media. This Original Tapestries guide gives you a repeatable way to plan the look without assuming that mounting hardware is included or that every printed textile can be washed, steamed or ironed the same way.
Start with the decision you need to make
- Still choosing a design? Use the wall-measuring and colour sections below.
- Already own a large tapestry? Use our no-drill mounting decision guide to compare support options and removal constraints.
- Unsure about room scale? Read the room-by-room tapestry size guide, then confirm your chosen product's actual dimensions.
Choose tapestry size from the usable wall, not the whole room
Measure the clear rectangle where the tapestry can actually hang. Record width and height after excluding doors, windows, switches, vents, heaters, shelving and furniture that must remain accessible. Then compare those measurements with the exact size selector or specifications on the current product page. Product photographs can communicate colour and composition, but they are not a reliable measuring tool.
| Placement | Measure first | Preview before ordering | Common issue to avoid |
|---|---|---|---|
| Above a sofa or console | Furniture width, ceiling clearance and the usable wall rectangle | Mark the tapestry's listed dimensions with low-tack tape | A textile so wide that its edges collide visually with lamps or shelving |
| Bedroom feature wall | Bed width, headboard height and safe clearance | Use a paper outline while viewing from the doorway | Placing a mount where a failure could strike a sleeper |
| Hall or narrow wall | Clear wall width and normal walking path | Check from both ends of the hall | Letting fabric project into doors, controls or traffic |
| Rental workspace | Desk width, camera view and wall finish | Take a test photo of the taped outline | Covering outlets, ventilation or required safety devices |
There is no universal percentage that makes a tapestry “correct.” A broad design can act as the room's main field of colour; a smaller design can leave intentional negative space. What matters is that the listed dimensions fit the measured wall and that the result looks balanced from the room's normal viewing points.
Match the artwork's visual weight to the room
Dark backgrounds and high-contrast motifs often appear visually heavier than pale, open compositions, even at the same physical size. Preview the actual listing image next to your wall colours, bedding, rug and natural light. For a moon-centred focal point, compare the active Full Moon Tapestry with the darker Original Wolf's Howl Tapestry. For a cooler palette, review the Blue Night Tapestry or Teal Trees Tapestry. The Purple Night Tapestry offers another colour direction.
These links are examples from the live catalog, not a promise that every design has identical dimensions, fabric details or care directions. Open the exact product page and verify the selected variant before checkout. The label supplied with the specific item should control cleaning and heat decisions; do not infer the fabric blend from the design name.
A renter-friendly hanging plan
- Read the lease and building rules. “Removable” does not automatically mean permitted or damage-free.
- Identify the wall surface. Painted drywall, plaster, brick, concrete, tile and wallpaper need different systems. If uncertain, ask the property manager or a qualified installer.
- Measure the actual item. Use its weight and dimensions, not an estimate based on the listing image.
- Choose rated supports. Follow the mounting-product manufacturer's limits, surface preparation, spacing, cure time and removal method. Use enough attachment points to distribute the textile evenly.
- Protect the textile. Avoid sharp clips, adhesive placed directly on the printed surface, or concentrated stress at one weak corner. Do not assume hooks, clips or rods come with the tapestry unless the listing says so.
- Test stability. Inspect the installed support according to its maker's instructions. Do not pull-test an adhesive mount or exceed its rated load; take the tapestry down if a support loosens.
Low-damage possibilities may include manufacturer-rated removable hooks with a separate rod, removable clips designed for the textile's weight, or a freestanding display. Compatibility depends on the wall finish and item construction. Never drill or drive a fastener where hidden wiring or plumbing may be present. Do not cover smoke alarms, sprinklers, outlets, vents or electrical panels.
How to remove fold lines and wrinkles carefully
Start with the least invasive option. Unpack the tapestry with clean, dry hands, support its full width, and let it hang naturally in a dry room. Many light fold lines relax with time. If they remain, consult the sewn-in care label and the current listing. A cotton/polyester description alone does not reveal the print process, coatings, trim or safest temperature.
- Do not place a hot iron directly on printed artwork unless the item's instructions explicitly allow that method.
- If low heat or steaming is permitted, work from the reverse where directed, keep the tool moving, and test an inconspicuous area first.
- Avoid soaking, spraying fragrances or applying stain remover without product-specific instructions.
- Stop if colour transfers, the surface changes, an odour develops or the textile distorts.
For valuable, damaged, hand-finished or uncertain textiles, a textile conservator or professional cleaner is safer than experimenting. Museum guidance is intentionally conservative; everyday decor is not necessarily a museum object, but the principle of beginning with the gentlest method is useful.
Light, dust and long-term care
The Smithsonian notes that light can damage textile fibres and that clean, dry, stable storage reduces risks. For everyday decor, keep a tapestry out of strong direct sunlight when practical, avoid damp exterior walls, and inspect it periodically for fading, dust, loose threads or moisture. Rotating artwork or closing blinds during intense sun can reduce cumulative exposure.
Do not copy a museum vacuuming technique automatically onto a modern printed tapestry. If the item's care instructions allow dust removal, use the gentlest approved method and avoid pulling loose threads. The Smithsonian describes weak-suction vacuuming through screening for some antique textiles but specifically warns that certain decorated textiles should not be vacuumed. That distinction is why the exact care label matters.
For storage, make sure the tapestry is clean and completely dry. Avoid a tight fold left unchanged for years; Smithsonian guidance recommends avoiding folds in tapestries and rugs and changing fold positions when folding cannot be avoided. A clean roll around a suitable support can reduce hard creases, provided the item and its decorations tolerate rolling.
Room-safety checks before you finish
- Keep fabric away from open flame, candles, heaters, radiators and hot lighting.
- Leave vents, alarms, sprinklers and electrical equipment fully clear.
- Keep hanging textiles and supports away from cribs and places where a falling mount could injure someone. Follow explicit manufacturer exclusions: some removable hooks prohibit use above beds.
- Check mounts after humidity changes, cleaning, wall repainting or any impact.
- Treat a tapestry as decor, not as certified acoustic treatment, insulation or a fire barrier.
The Smithsonian's preservation advice also recommends avoiding heaters, radiators, chimneys, vents and electrical sources when positioning sensitive objects. In a household, manufacturer instructions and local fire/building requirements take priority.
A five-minute buying checklist
- Measure the usable wall width and height.
- Confirm the exact tapestry dimensions and selected variant.
- Review the listing image beside the room's colours and light.
- Confirm material and care information for that item.
- Plan a wall-compatible, weight-rated mount; do not assume hardware is included.
- Check clearances from heat, ventilation, alarms and furniture.
- Preview the outline with tape or paper before ordering.
Frequently asked questions
How large should a tapestry be above a sofa?
Measure the sofa, nearby lamps and the clear wall rectangle, then tape out the product's exact listed dimensions. There is no single mandatory ratio; leave enough negative space that the tapestry does not crowd surrounding objects.
Can I hang a tapestry without making holes?
Sometimes, but the method must be rated for the tapestry's measured weight and compatible with the wall finish. Follow the mounting maker's directions and your lease. “Removable” is not a guarantee against paint or wallpaper damage.
Can I steam wrinkles out?
Only if the current care label or manufacturer instructions permit it. Begin by letting the textile hang naturally. Test any permitted low-heat method in an inconspicuous area and stop at the first sign of change.
Can every tapestry be machine washed?
No. Fabric blends, prints, trims and finishes differ. Follow the specific care label rather than applying a universal washing rule.
Does the tapestry include hanging hardware?
Do not assume it does. Check the exact product page and package contents. Choose any separate hardware by wall type, measured weight and manufacturer rating.
Bottom line
A successful tapestry setup begins with real measurements and ends with a support and care plan suited to the exact item. Preview scale, verify the listing, mount without stressing the fabric, and use the least aggressive wrinkle-removal method allowed by the label. Those steps protect both the room and the artwork while making the design feel intentional.